Easy guide for how to install telnet client windows 7 Telnet Client allows a computer to practically connect to a remote Telnet Server and run application on that server. A Telnet is an Internet standard utility & protocol based on Request for Comments. This RFC specifies a method of transmitting & receiving unencrypted ASCII characters across a network. This characters are plaintext but not the HTML or other codes. One can use Telnet client running on one computer to connect to a command line based session to run applications. Telnet Client supports only text based interfaces but not the graphical interface.
Both Telnet Client and Telnet Server features are available in Windows 7 but they are not turned ON by default. So one who is willing to use Telnet server on his operating system should manually turn on this feature on his PC.
Easy guide for how to install telnet client windows 7
Free Hosting : Create Website Free with free Domain name and Hosting provider.
Here is the procedure on how to Turn on Telnet Client and Telnet Server on your Windows 7 operating system-
1. Click on the Start button and then proceed to Control Panel.

2. In Control Panel select Programs and Features.
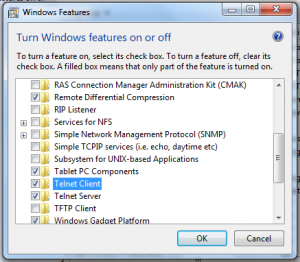
3. Select Turn Windows features on or Off.
Also Read : Best Free VPN Services that Ensures Security.
4. Now check the Telnet Client in the checkbox to turn on the Telnet Client on your computer.
5. Click OK and a box will appear for the installation of it.
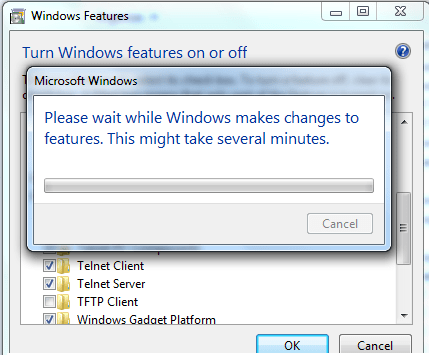
When the installation would be completed you will get a confirmation saying Done. You can start using this software then.
Also Read: Can I backup my email ID to CD/Pendrive?


Leave a Comment
You must be logged in to post a comment.