Microsoft Outlook supports two file formats, i.e., OST and PST. An OST file is created whenever you sign in to your Microsoft Outlook. This synchronizes all the data of your Outlook; this means if you use Outlook without the internet, the data will be synchronized whenever Outlook detects data.
Though OST files work for synchronization, you will have to convert these files to PST format for backup. Unlike the OST file format, PST does not synchronize the data and is best suited for backup because of its portability. Not only this, but you cannot directly import OST files to Outlook, and to restore the data, you will have to import the PST files.
But how do I convert the OST file to PST format? This article will guide you on converting OST files to PST format, so let’s start with it.
What are OST and PST Formats?
OST stands for Offline Storage Table, whereas PST stands for Personal Storage Table. As discussed earlier, Outlook supports these two file formats for offline data synchronization and backup. The main purpose of the OST file is to synchronize the data when you are working in the offline mode on Outlook. Talking about PST, these file formats backup and save the data on your PC’s storage.
An OST file is created as soon as you log in to your Outlook, whereas the PST files are created when you make a new Outlook data file. The synchronization is automatic for OST files, whereas you will have to manually take a backup of PST files.
Why do I Need to Convert the OST File to PST Format?
Both of these files are equally important for Outlook, but there may be some instances where you may have to convert an OST file to PST format.
- PST files are used for backups. You can back up your archived emails that are clogging up the storage on your Outlook. The PST file can later be imported to Outlook to restore all the emails.
- When switching computers, you can use PST files to transfer data from Outlook from one PC to another.
- PST files can be a lifesaver if the exchange server crashes. You can use PST files to restore the data without any issues.
- Unlike OST files, PST files are much more portable because of less size. Storing PST files requires less space, so you can save them over the cloud of your local storage. This will free up storage consumed by the OST files.
Ways to Convert OST File to PST Format
There are multiple ways to convert OST files to PST files; you can do it manually and use third-party software/websites to convert the files automatically for you. You can use methods like Outlook’s import/export wizard, archive method, or drag and drop method to convert OST file to PST format. Here’s how you can do it-
1. Through Import/Export Wizard on Outlook
You can use the import/export wizard on Outlook to export the data of the Outlook as a PST file. To do so, follow the steps given below-
- Open the Outlook on your PC.
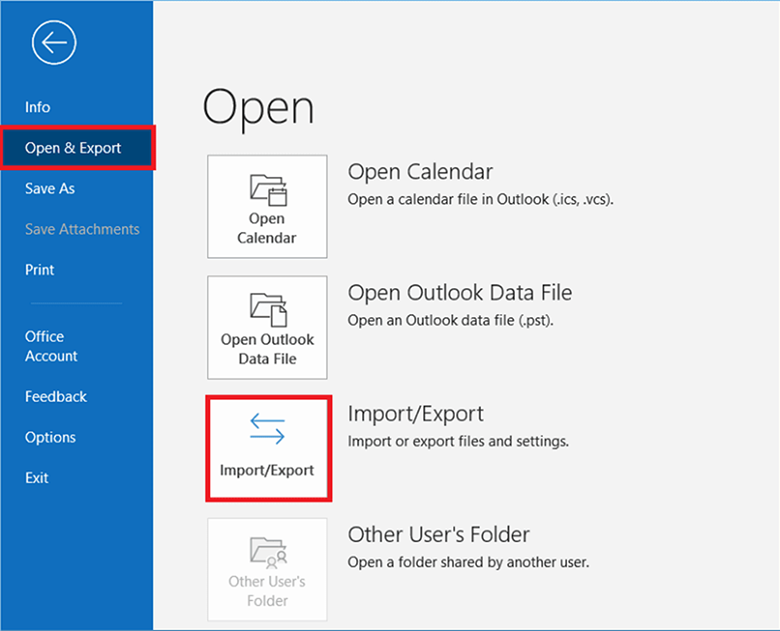
- Click on the File option.
- Now, click on Open & Export and then click on Import/Export.
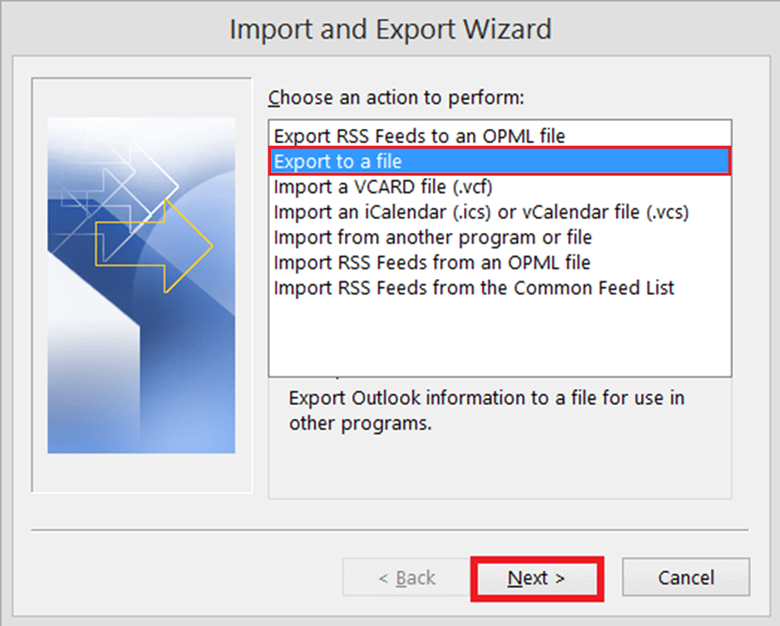
- On the next window, select Export to a file and then click Next.
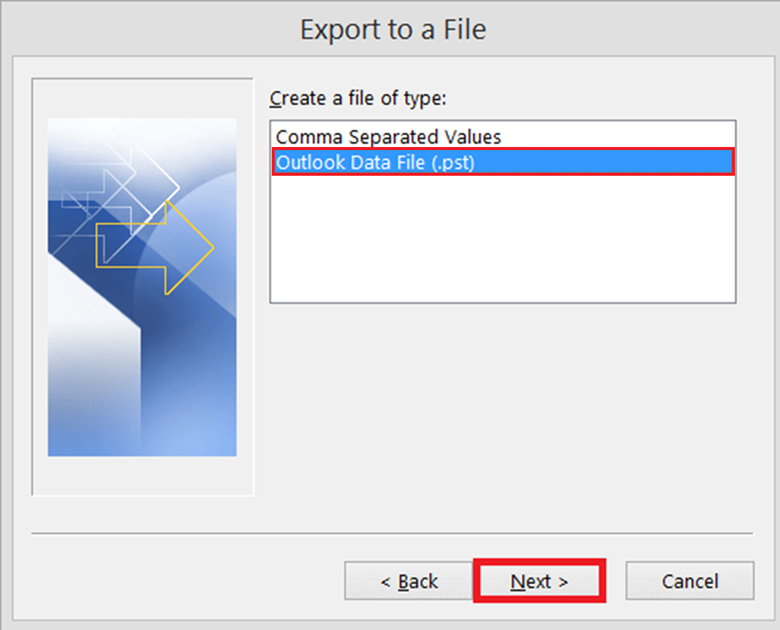
- From the given options, choose Outlook Data file (.PST) and then click on Next.
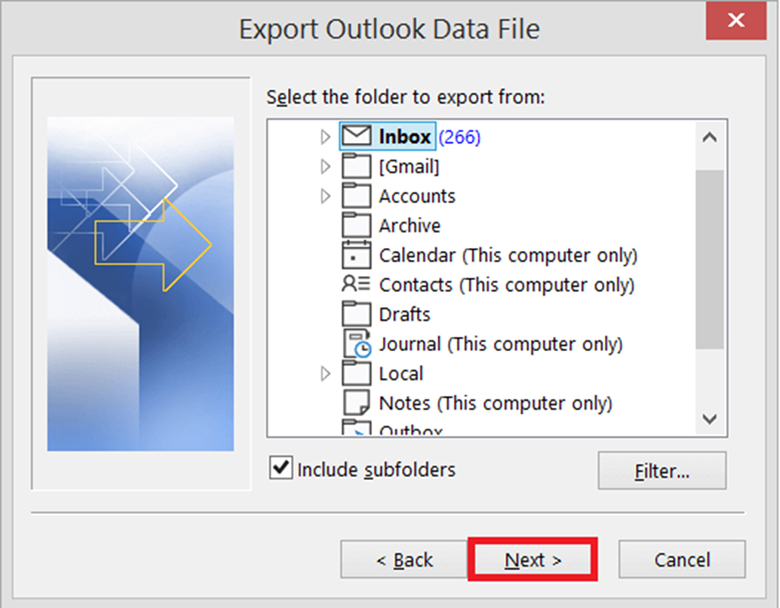
- You will now be asked to select all the folders that you want to be exported to the PST file.
- Select the folder, and check the checkbox saying Include subfolders. After this, click on Next.
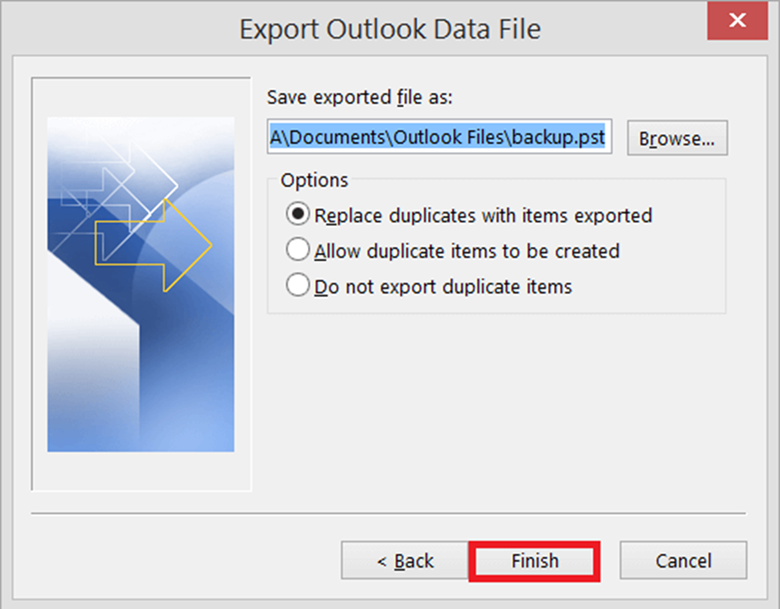
- Now, you must select the location to save the PST file. Once done, click on Finish.
- When asked, enter the password and verify it; click on OK to continue.
- All the folders and subfolders will be exported as the PST file.
2. Through Archive Option
The next way to convert an OST file to a PST file is through the Archive option in Outlook. To continue with it, follow the steps given below-
- Launch Outlook on your PC.
- Click on File and then on Options on the left pane.
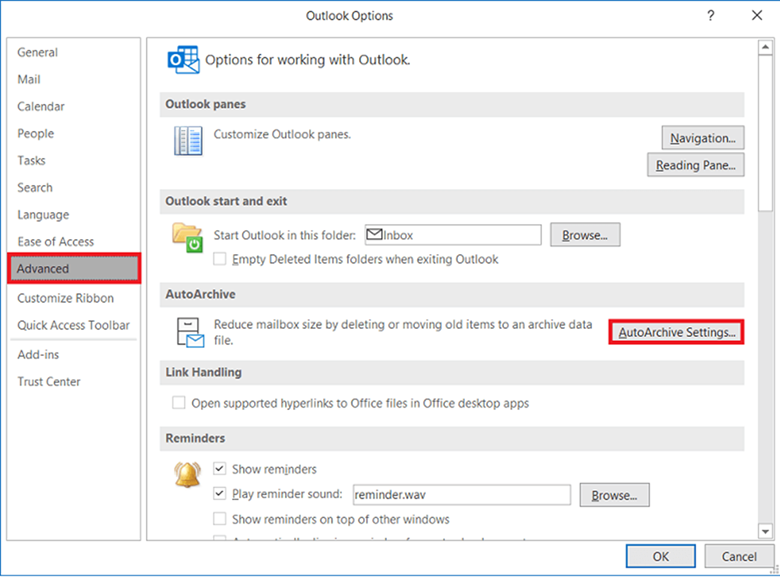
- Now, click on the Advanced option and then select AutoArchive Settings.
- You must set the archive duration, i.e. when you want the data to be archived automatically. Check the ‘Run AutoArchive Every [ ] Days’ checkbox and select the number of days.
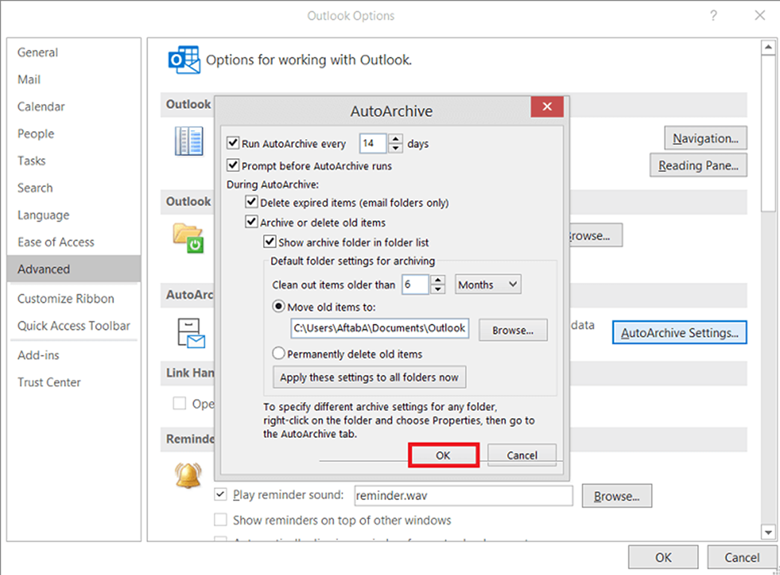
- Now, click the Browse button and select the location where you want the file to be saved.
- Now, click on the OK. The archived will be saved as PST formats after every set number of days.
3. Through Drag and Drop
Another way to convert an OST file to PST format is with the drag-and-drop option. With this method, you must move your emails through drag and drop to the PST file to convert them from OST to the existing PST file.
- Head to Outlook and ensure you have signed into your account.
- Now, click on the New Items option and then on More Items.
- After this, select Outlook Data File.
- In the New Outlook Data File wizard, select Outlook Data File (.pst) and click OK.
- You will now have to enter the name of the PST file and then click on OK once you are done.
- This will create the PST file. You can now drag and drop the items from your Outlook to the PST file to convert them from OST to PST. If you don’t want to drag and drop, you can copy the items like other files and then paste them into the PST file.
4. Through Third-Party Software
One of the best ways to convert OST files to PST format is through third-party software. This method is one of the easiest one to get ahead with as this automatically converts the file, unlike the above manual methods that require your constant input.
There are multiple tools that you can use to convert the OST file to PST format, but for this guide, we will be using Stellar Convert for OST tool. You can use some other converter tool of your choice to convert the file. Let’s see how to do it-
- Click this link to head to the Stellar Converter tool’s official website.
- You can download the tool from the above link and install it on your PC. Once installed, launch the Stellar Converter for OST on your PC.
- When you launch the tool, you will see the ‘Select Outlook Data File for Conversion’ window.
- Select the Profile List or Choose Mailbox Manually tab to import the OST file to the converter tool.

- Once you have done it, click on the Convert button.
- After this, you will get the ‘Save As’ pop-up window asking which file format you want the OST file to be saved. Select PST and click on Next.

- After this, click on Browse, select the location where you want the file to be saved, and click on OK.
- The converted PST file will now be saved to your selected location.
Bottom Line
You will have to convert the OST file to the PST file if you want to back up your Outlook data or move the Outlook data from one PC to another. If you don’t know how to convert OST files to PST format and you are looking for a guide to help you with it, then this article is all you need. Here are all the ways that you can follow to convert OST file to PST.


Leave a Comment
You must be logged in to post a comment.