Cryptocurrency Why Is The Help With Obtaining An MSB License In Canada... 3 days agoby Svetlana Shuykova
Lifestyle Expert Tips for Getting the Most Out of Your Juicer Mixer Grinder 5 days agoby Concetta Beretta
Home Making Products Restoring Your Home: Navigating Water, Fire, And Mold Damage... 1 week agoby Annika Sophia
Cryptocurrency Adoption of Cryptocurrencies in Difficult Sectors: What Are the... 2 weeks agoby Concetta Beretta
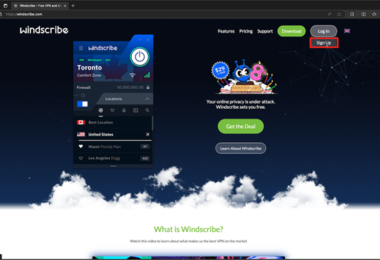
Get Deals WindScribe VPN: Get 100GB/Month VPN Free for Lifetime [COUPON/... 2 weeks agoby Anurag Jain
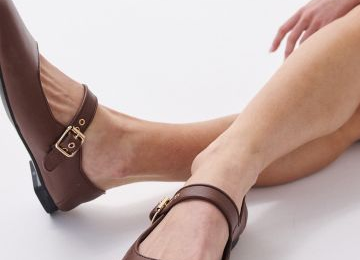
Lifestyle Reasons Why You Should Wear Ballet Flats More Often- A Must Have 2 weeks agoby Victoria Daniel
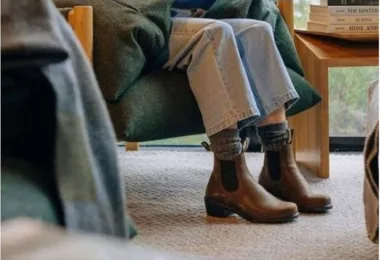
Lifestyle Blundstone Boots: Your All-Season Companions With Some Extra... 2 weeks agoby Victoria Daniel
Home Making Products From Shingles to Insulation: Understanding Complete Roofing... 2 weeks agoby Ester Adams