Old wood decks can be a pain to paint. The old finish is often cracked and peeling, and the surface is often stained with years of dirt and mildew. But it’s worth taking the time to paint an old deck because a fresh coat of paint can make it look new.
This blog post will show you how to prep and paint your old wood deck, so it looks great in years to come. We’ll also share some tips for choosing the right paint color. Let’s get started!
What is a Deck?
A deck is an outdoor space that is typically made of wood. Decks are often attached to homes and used as a place to relax or entertain guests.
Painting a deck can be a big project, but it’s worth the effort to improve your home’s look and extend your deck’s life.
Why Paint an Old Deck?
There are several reasons why you might want to paint an old deck. For example, maybe the old finish is peeling and flaking, or the color has faded. Or, you might just want to change the look of your deck by painting it a different color.
Whatever the reason, painting an old deck can be a challenging but rewarding project. Follow these steps, and you’ll be sure to get great results.
How to Paint an Old Wood Deck
Tools and materials needed
- Pressure washer
- Wire brush
- TSP (trisodium phosphate)
- Paint roller and tray
- Paintbrush
- Exterior paint (semi-gloss or high-gloss)
Step-by-step procedure
Step 1: Preparation
The first step to painting an old wood deck is to prepare the surface. This is a crucial step because it will determine how well the new paint will adhere and how long it will last.
Start by washing the entire deck to remove any dirt, grime, mildew, or other contaminants. Be sure to use a low-pressure setting to avoid damaging the wood.
Once pressure-washing the deck, use a wire brush to remove any remaining dirt, paint, or finishes. Next, scrub all surfaces, including railings, steps, and corners.
After you’ve scrubbed the entire deck, it’s time to wash it with TSP (trisodium phosphate). This will remove any remaining dirt, grease, or grime.
Once you’ve washed the deck with TSP, rinse it off with clean water and let it dry completely. Depending on the weather, this can take anywhere from a few hours to a day.
Step 2: Sanding
Once the deck is dry, you’ll need to sand it before you can start painting. This will rough up the surface so the new paint will adhere better.
Start by sanding all flat surfaces with a belt sander or palm sander. Be sure to use coarse-grit sandpaper (60-80 grit) to remove the old finish and prepare the surface for painting.
After sanding the flat surfaces, use a hand sander for sanding all the edges, corners, and difficult-to-reach areas. Again, be sure to use coarse-grit sandpaper.
Once you’ve finished sanding, vacuum up all of the dust and debris. Then, use a clean cloth to wipe the entire deck and remove any remaining dust.
Step 3: Paint Selection
Now that the surface is prepared, it’s time to choose a paint and your preferred color. To get the most of your buck, here a list of the best deck paint for old decks that I recommend.
When selecting a paint color for your deck, it’s important to consider the existing colors of your home.
You’ll also want to consider the sunlight the deck receives and the overall look you’re going for. If you’re unsure what color to choose, we recommend consulting a professional.
Once you’ve chosen the paint color, it’s time to start!
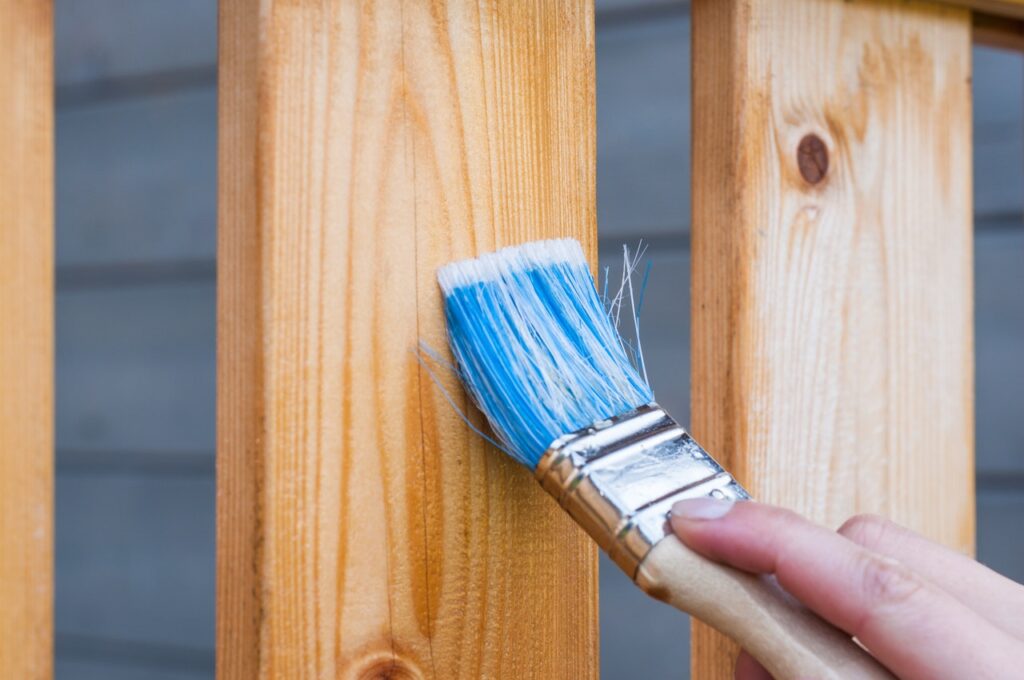
Step 4: Painting
Now that the surface is prepared, and you’ve selected a paint color, it’s time to start painting. Begin by painting the railings with a brush. Then, use a roller to paint the floor of the deck.
Start in one corner and work your way across, painting in long, even strokes. Be sure to paint all edges and corners thoroughly.
Once you’ve finished painting the deck, let the paint dry completely before using it. Depending on the weather, this can take anywhere from a few hours to a day.
FAQs
Do I need to prime my old deck before painting?
Priming your deck before painting is always a good idea but not strictly necessary. For example, if your deck is in good condition and you want a new look, then priming is probably unnecessary. On the other hand, priming will help the new paint last longer if your deck shows wear and tear.
Is it cheaper to paint or stain a deck?
It depends on the condition of your deck and how much preparation work is required. If your deck is in good condition and just needs a light sanding, then staining it will be cheaper. If your deck is in bad condition and needs extensive repairs, painting it will be the less expensive option.
Do I need to sand my old deck before staining?
Yes, you need to sand your old deck before staining. This will create a more uniform surface and help the new stain adhere better. Painting may be the cheaper option if you’re on a tight budget. However, stains can be more durable and may save you money in the long run. Ultimately, the best option for your deck depends on its condition and your personal preferences.
Conclusion
Painting an old wood deck can be a great way to give it new life. But, follow the steps outlined above to ensure the best results. And, if you’re unsure what color to choose, consult a professional for help.
Have fun and enjoy your newly painted deck!


Leave a Comment
You must be logged in to post a comment.