Windows 11 by default only allows one RDP session. If you are on the standard version of Windows, then you will only be able to use one RDB session; in case, if you try to run multiple concurrent sessions then the existing RDP sessions will be logged out automatically. Even though Windows 11 is capable enough to run multiple RDP sessions, Microsoft has restricted this feature to the standard version.
Microsoft allows multiple RDP sessions on Windows 11 Enterprise by default. However, that does not mean you can do the same on the standard Windows 11 version; there are some workarounds with which you can do it. This article will guide you through all the ways to allow multiple RDP sessions on Windows 11.
Ways to Allow Multiple RDP Sessions on Windows 11
Windows 11 limits Remote Desktop Protocol to one user at a time. To overcome this, there are some methods that you can go for to use multiple RDP sessions on your system. This includes using the RDP Wrapper Library, making changes to termsrv.dll file, or editing local group policies. Let’s go through all these ways one by one-
1. By Using the RDP Wrapper Library
The first way to enable multiple Remote Desktop Protocol sessions on Windows 11 is through the RDP Wrapper Library. It is an open-source library which is available on GitHub for free. You can download this library on your PC and set it up to allow multiple RDP sessions. Here’s how:
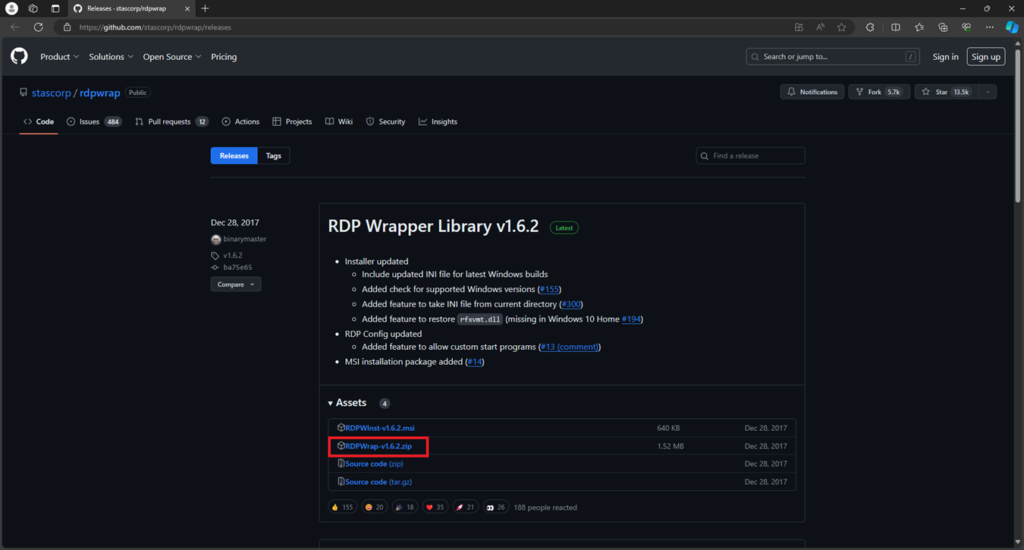
- Head to the RDP Wrapper Library page on GitHub from this link. Download the latest ZIP file of the library.
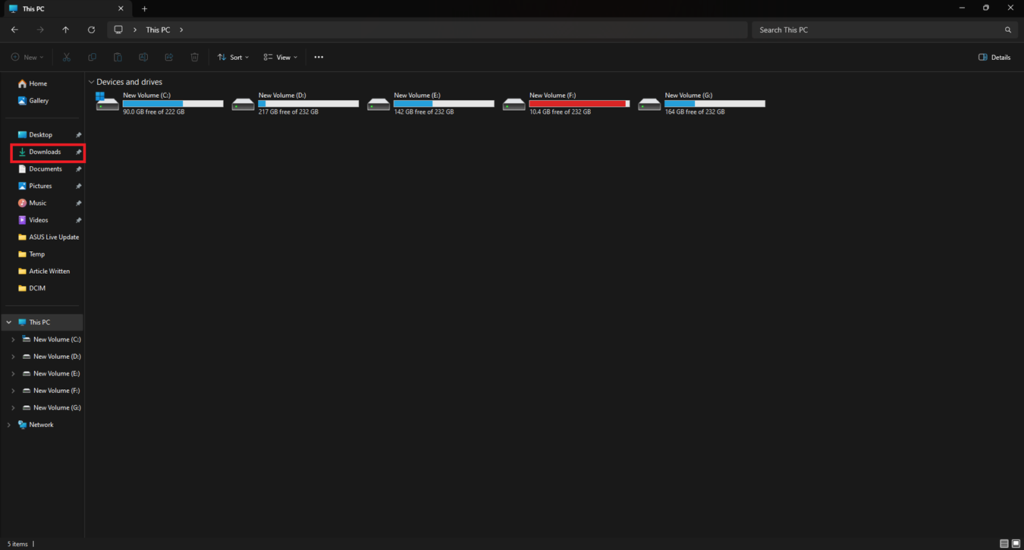
- Press the Windows + E key combo to launch File Explorer and head to the Downloads folder from the left pane.
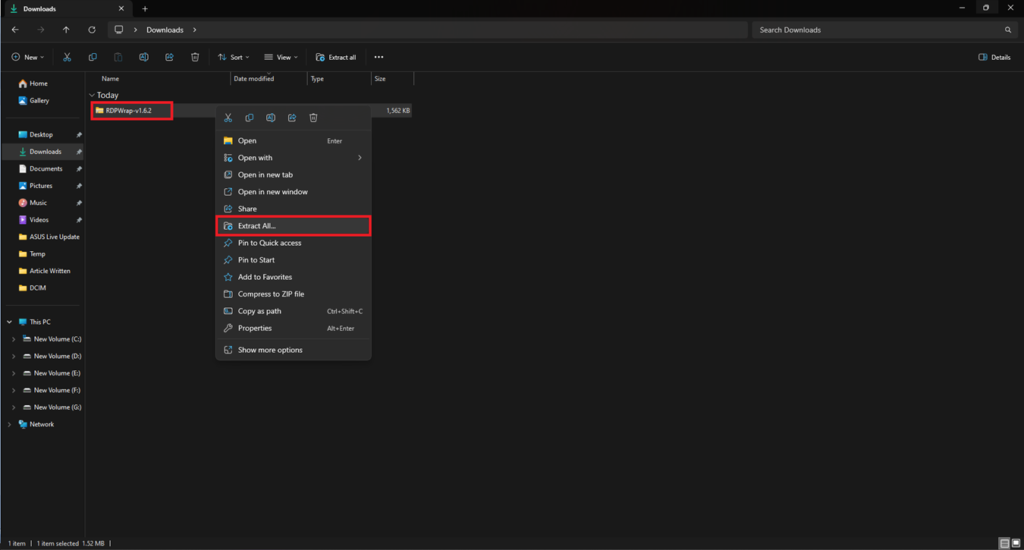
- Right-click on the RDP Wrap ZIP file and then click on Extract All.
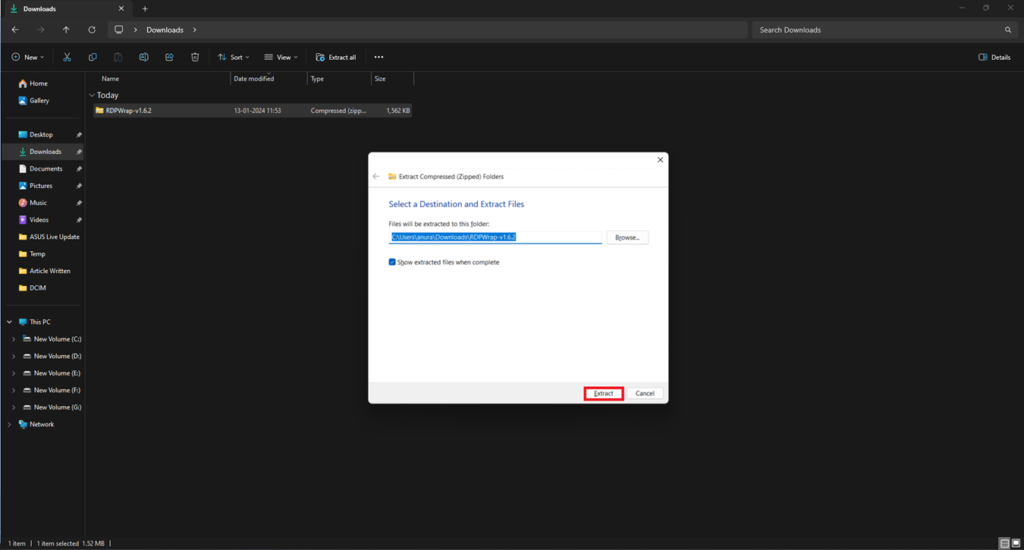
- Change the destination if you want to, and then click on the Extract button.
- Open the extract RDP Wrapper library folder.
- Here, double-click on the install (install.bat) file.

Note- Your Antivirus may block RDP Wrapper from installing. You will have to allow the file to make changes from within the antivirus software.
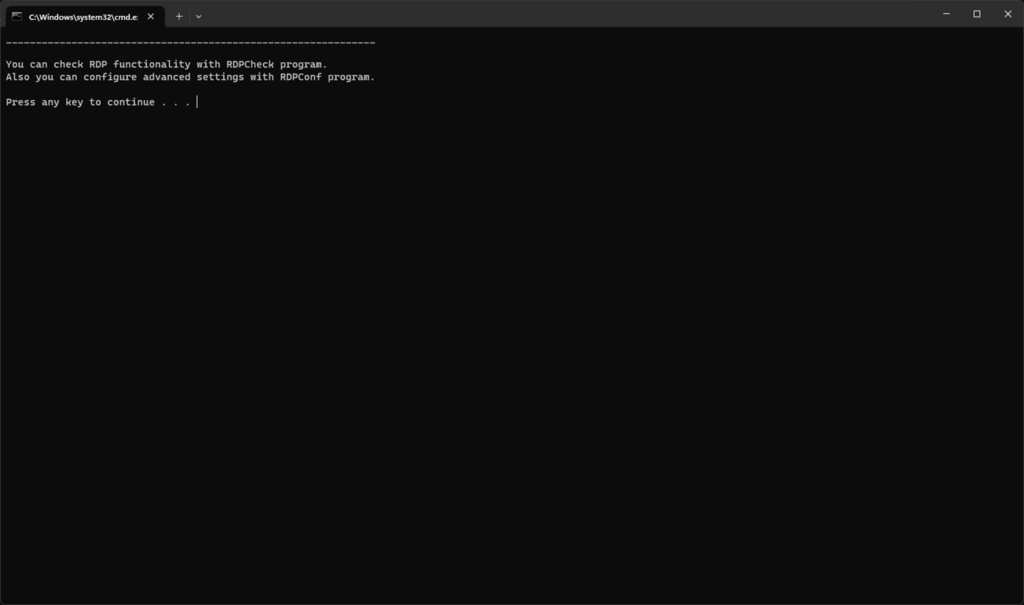
- You will be asked to press any key to continue; do so to continue ahead.
- After this, double-click on the RDPConf file, and when the UAC prompt appears, click Yes.
- All the states under the Diagnostics section should be green.
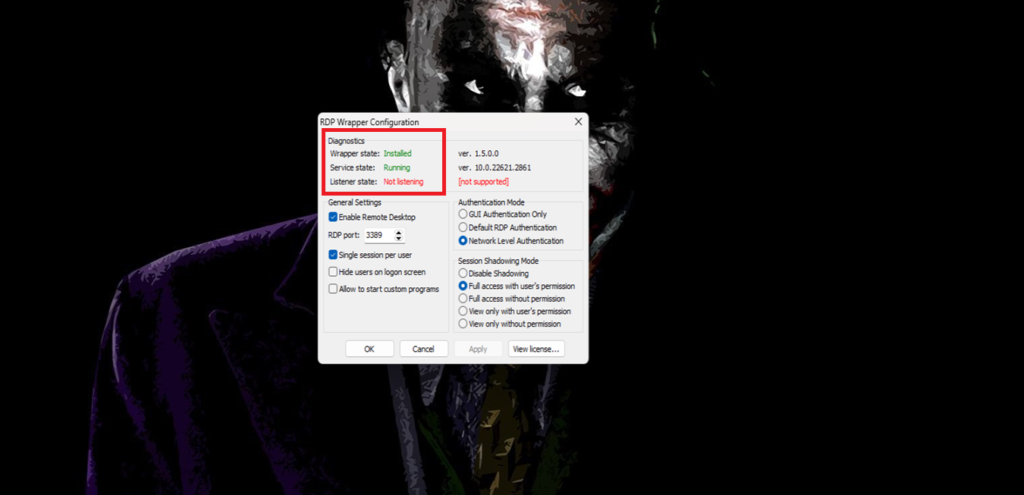
- If you see Listener State marked as Not Listening (Not Supported) then that’s because multiple RDP session is not allowed on your PC. If you see this, then continue with the steps given ahead.
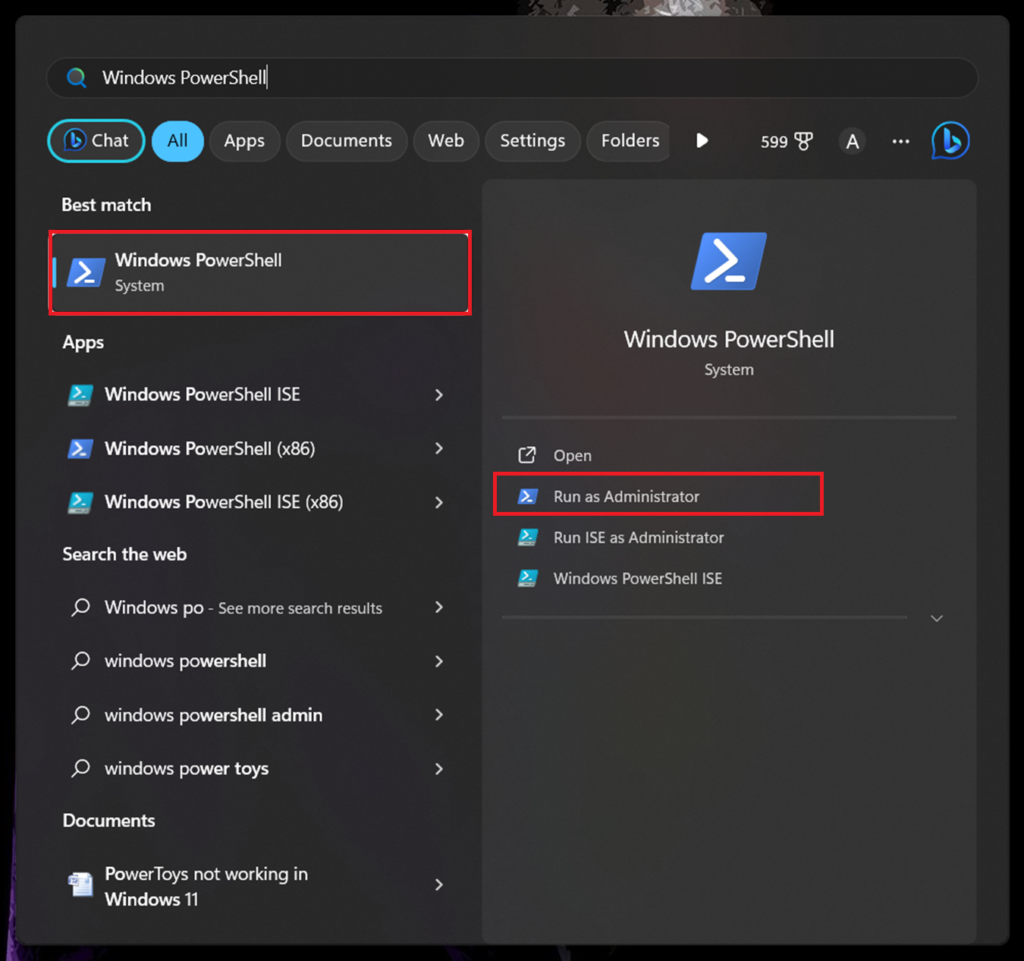
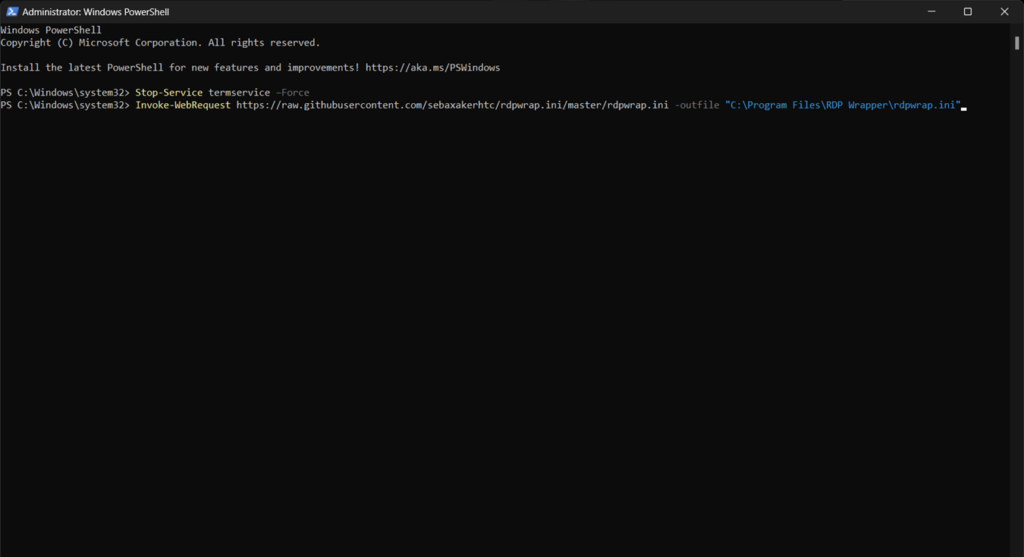
- Press the Windows key, type PowerShell. Select Windows PowerShell and then click on Run as Administrator.
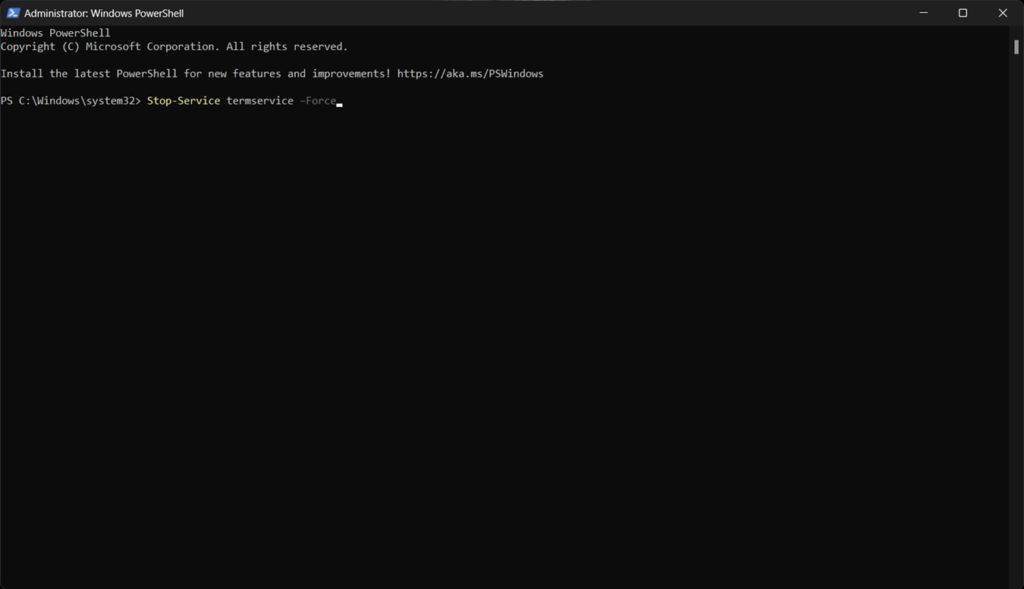
- Now, execute the following command below to stop RDP temporarily-
- Stop-Service termservice –Force
- After this, execute the command given below to replace the rdpwrap.ini file-
- Invoke-WebRequest https://raw.githubusercontent.com/sebaxakerhtc/rdpwrap.ini/master/rdpwrap.ini -outfile “C:\Program Files\RDP Wrapper\rdpwrap.ini”
- Once the process is completed, close the Terminal window, and restart your PC.
- After your PC turns on, head to the extract RDP Wrapper Library folder, and launch the RDPConf.exe file.
- You will now see that all the states under Diagnostics are now green, and the Listener State will be set to Listening (fully supported).
- Once you do that, you will be able to use multiple RDP sessions on Windows 11.
2. Making Changes to the termsrv.dll File
Another way to allow multiple RDP sessions on Windows 11 is by modifying the termsrv.dll file. This file is present in the C:/Windows/System32 folder. You can go ahead with this method if you don’t want to use the RDP Wrapper Library.
But before making any changes to the file, you must make a system restore point which you can use to restore your PC to its current state if something goes wrong. Below are the steps to create a system restore point-
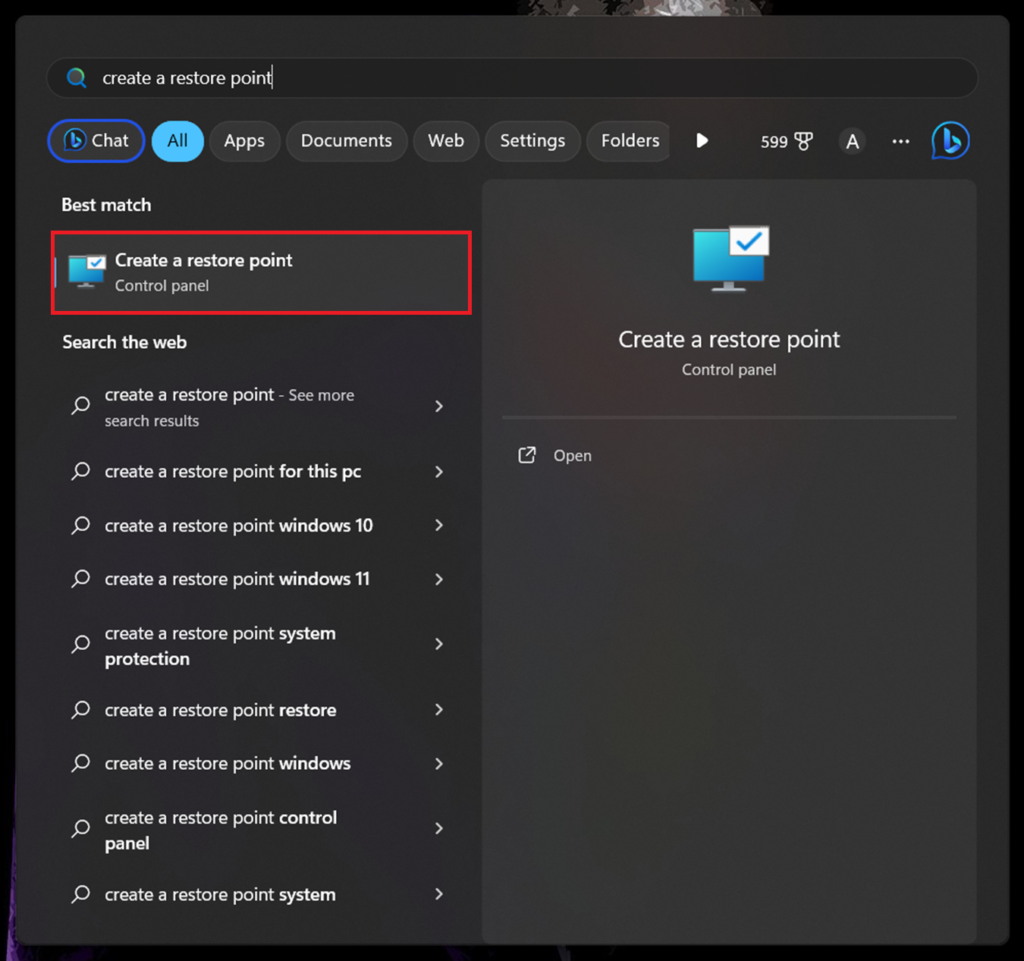
- Open the Start Menu by clicking on the Windows icon on the taskbar.
- In the Start Menu, type Create a restore point and press Enter.
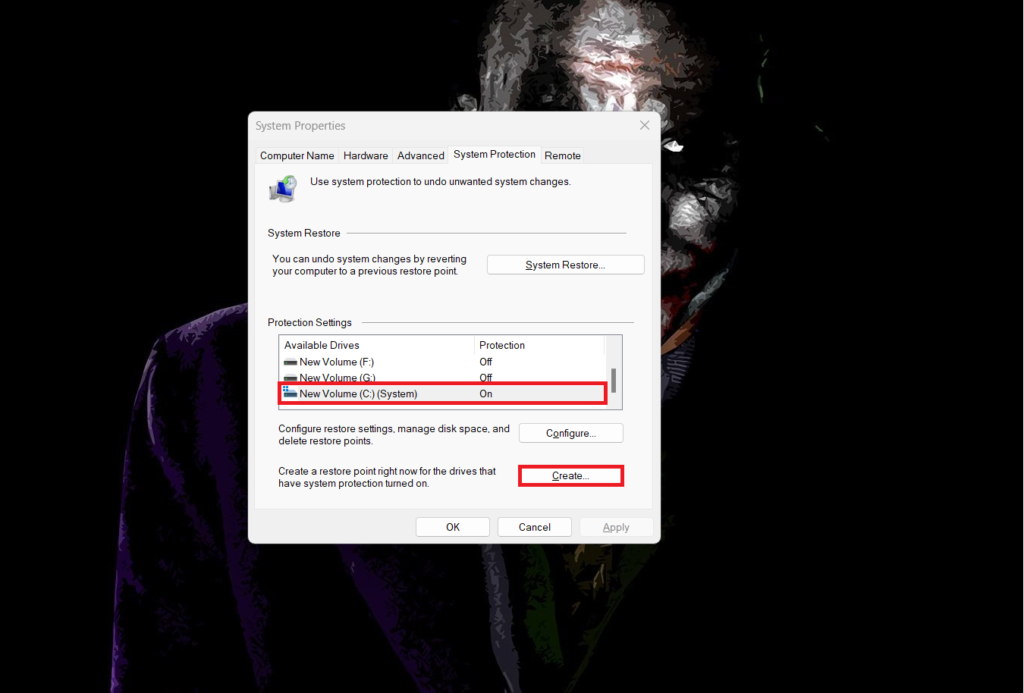
- Select your current Windows installation partition (we are selecting New Volume C), and click on Create.
- Enter the description of the restore point, and then click on Create.
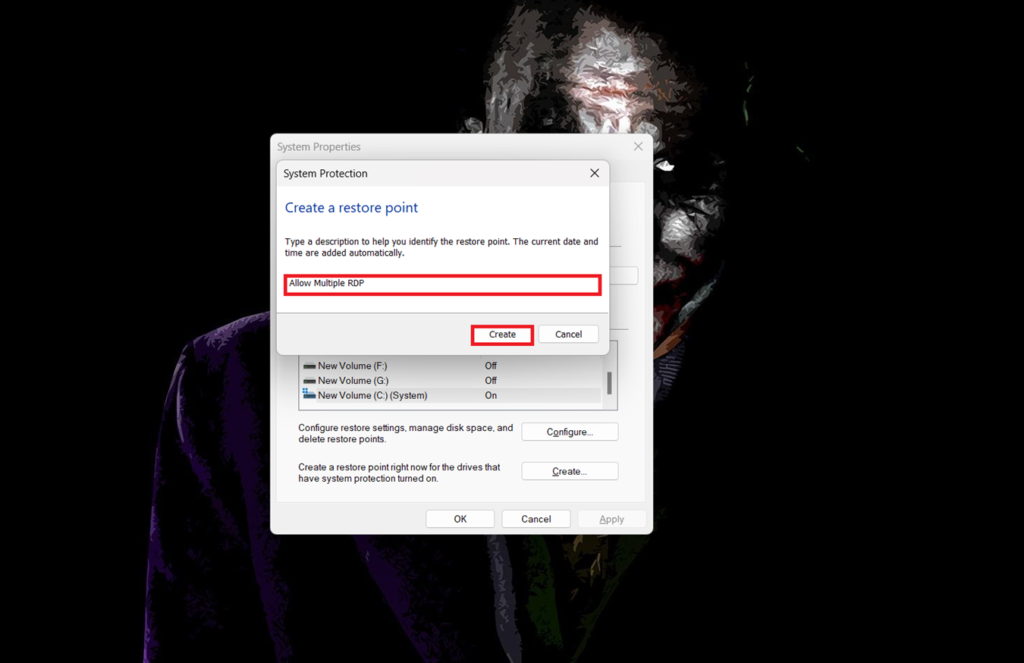
- A restore point for the current state of your system will be created.
- You can use this restore point if something goes wrong with the process.
Once you have the restore point, you can go ahead and modify the termsrv.dll file. We will be using the Command Prompt to make changes to the file. Follow the steps given below to do so-
- Open the Run Dialog Box using the Windows + R keyboard shortcut.
- Type CMD in the Run Dialog box, and press Ctrl + Shift + Enter keys together.
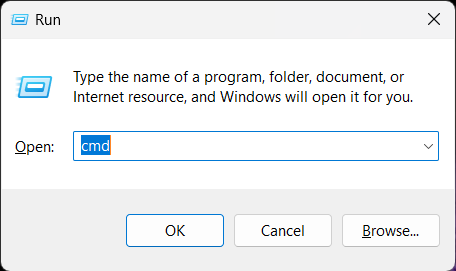
- A UAC prompt will appear on your screen, click on Yes.
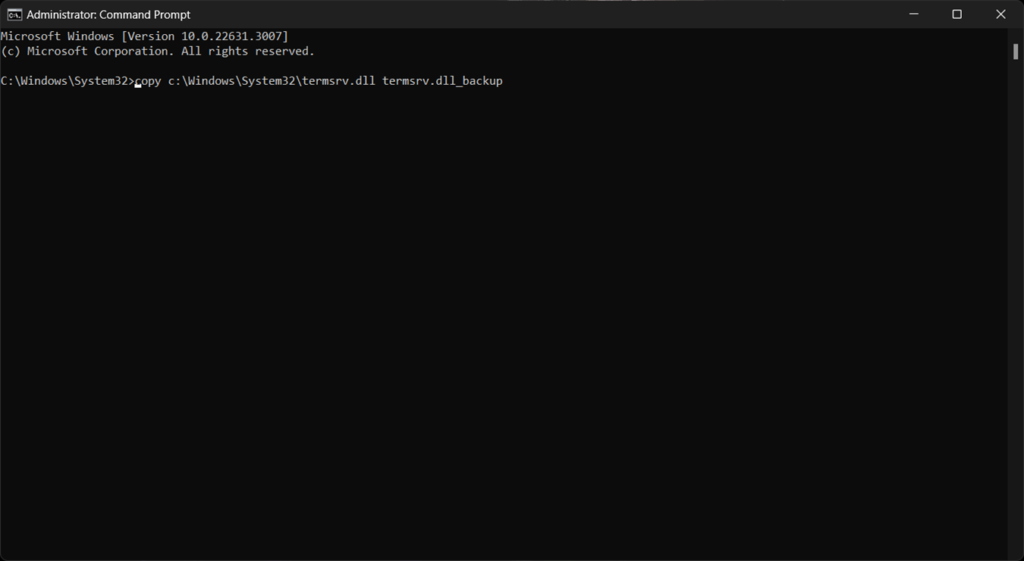
- You will have to copy the termsrv.dll file before making changes to it. You can do it by executing the command given below-
- copy c:\Windows\System32\termsrv.dll termsrv.dll_backup
- You need to take ownership of the original termsrv.dll file. This can be done by executing the following command-
- takeown /F c:\Windows\System32\termsrv.dll /A
- After this execute the command given below to grant the local Admin full control of the file-
- icacls c:\Windows\System32\termsrv.dll /grant Administrators:F
- Next, stop the Remote desktop service. The command to do this is-
- Net stop TermService

- You will be asked to continue with the operation; press Y to confirm.
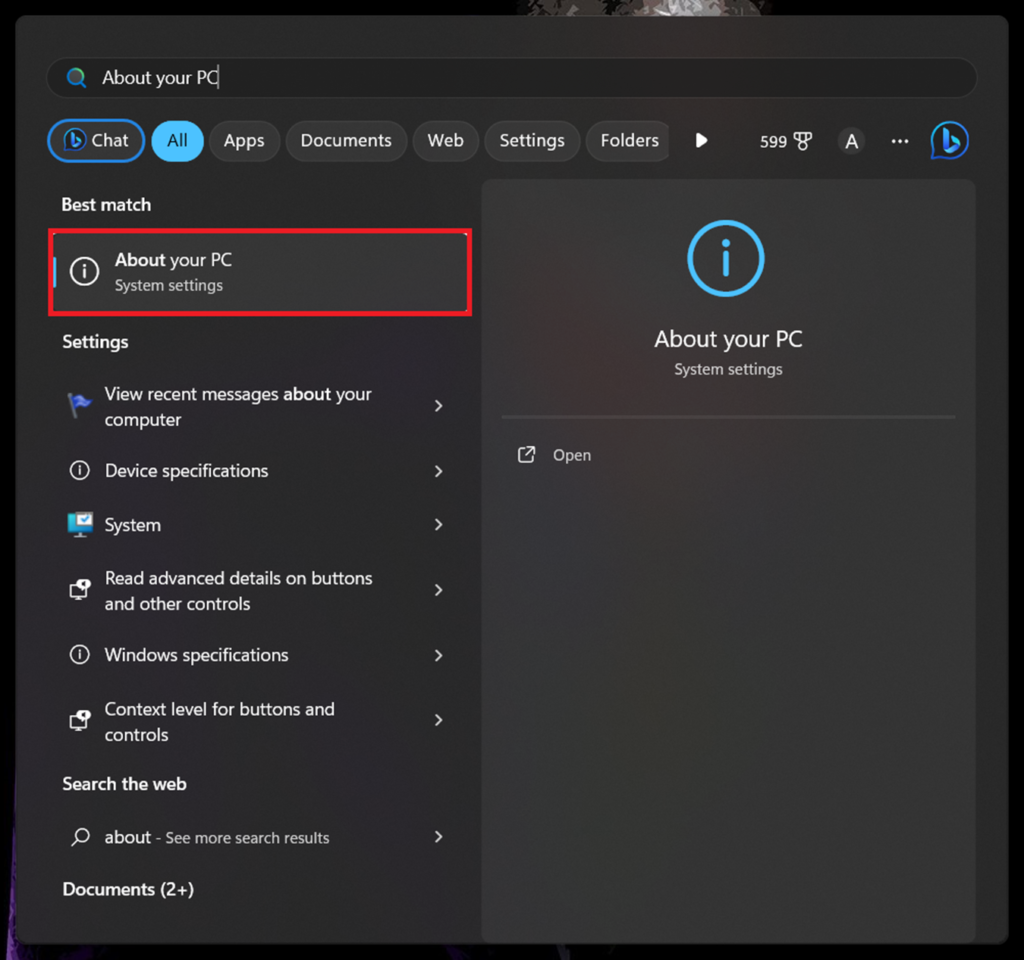
- Now, open the Start Menu, type About your PC, and press Enter.
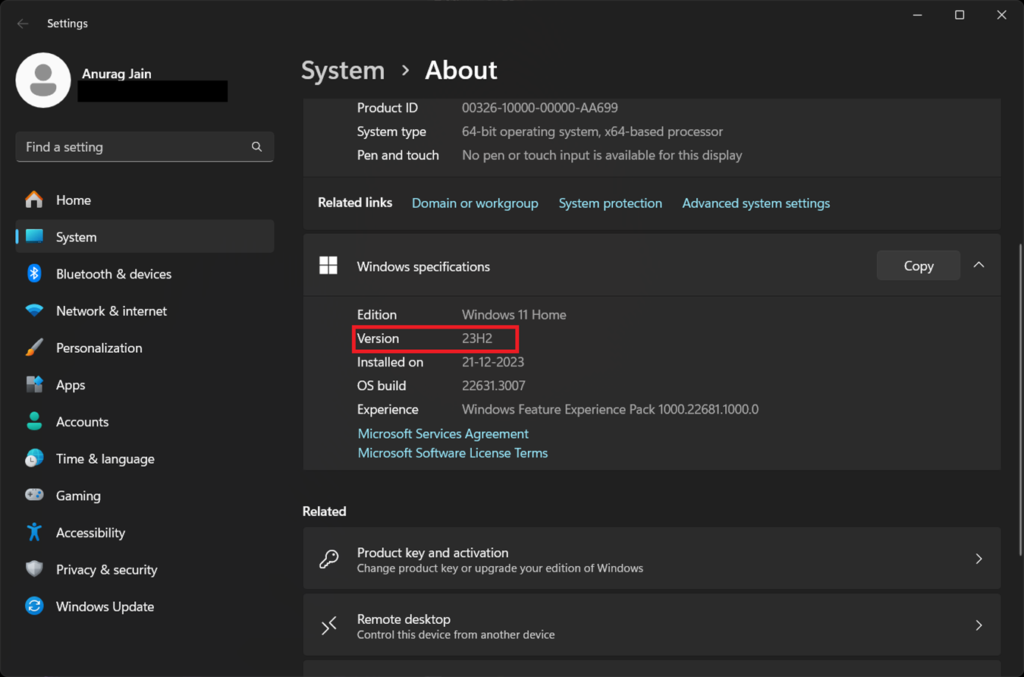
- Under the Windows Specification, look for the Version of your Windows and note it down somewhere.
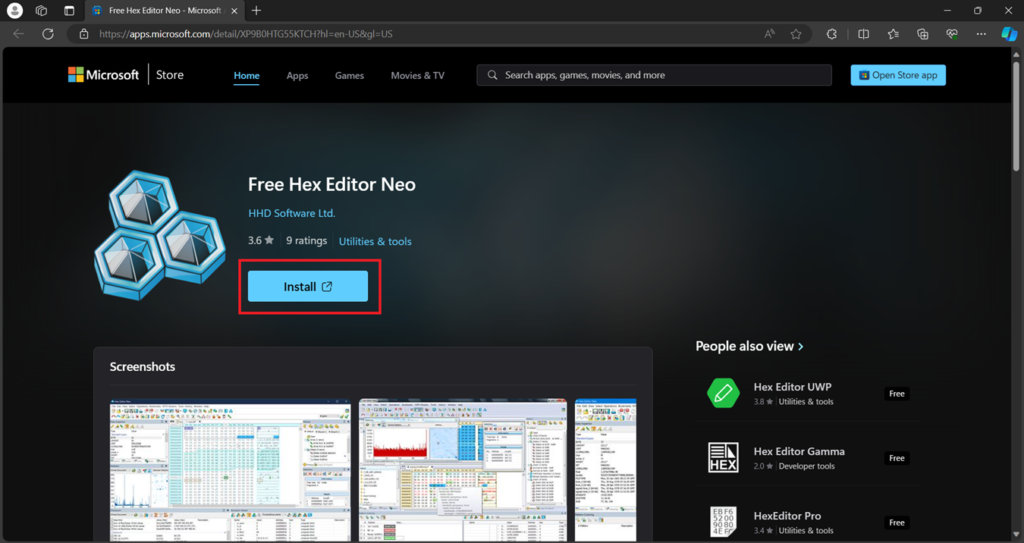
- You will now need a HEX editor to edit the file. There are many HEX editors available online, but you can install this Free Hex Editor Neo. Click on the previous link, and click on Install to get it for your PC.
- Once the above app is installed, launch it on your PC.
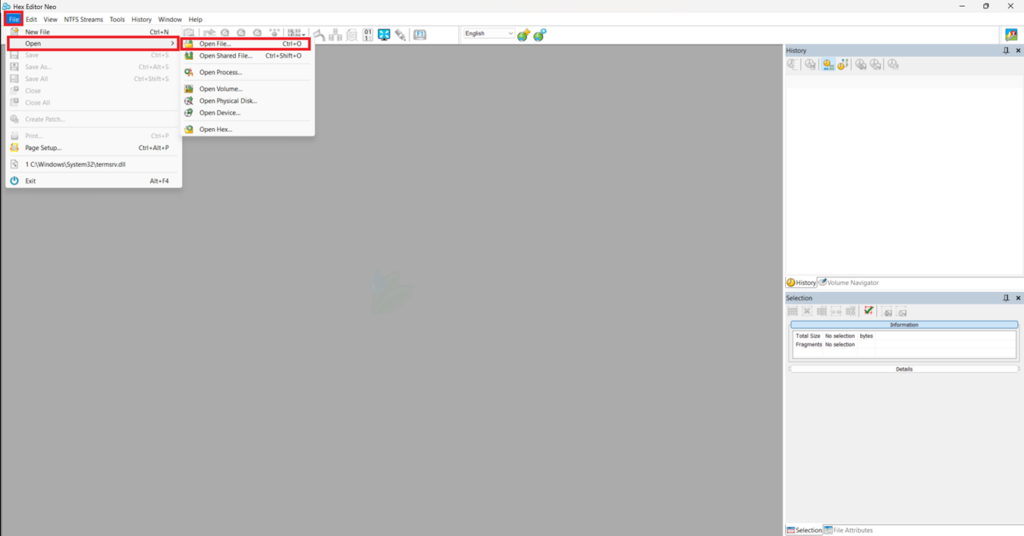
- Now, click on the File button at the top, click on Open, and then on Open File.
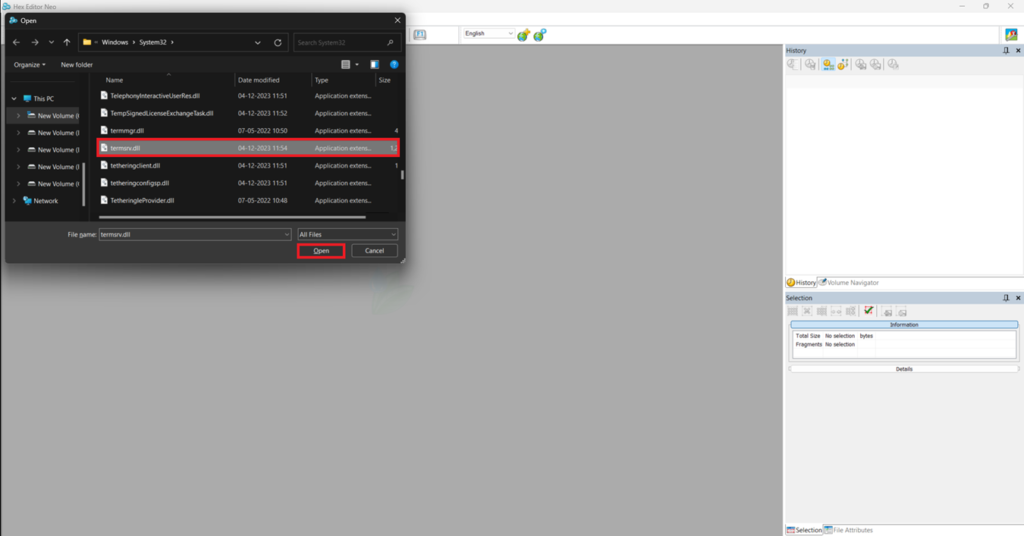
- Navigate to C:/Windows/System32 and select termsrv.dll file. Click on the Open button.
- Now, look for the following string here depending on the Windows version your PC has-
- Windows 11 22H2- 39 81 3C 06 00 00 0F 84 75 7A 01 00
- Windows 11 21H2 (RTM)- 39 81 3C 06 00 00 0F 84 4F 68 01 00
- Search for the above string based on your Windows version, and replace it with the following string-
- B8 00 01 00 00 89 81 38 06 00 00 90
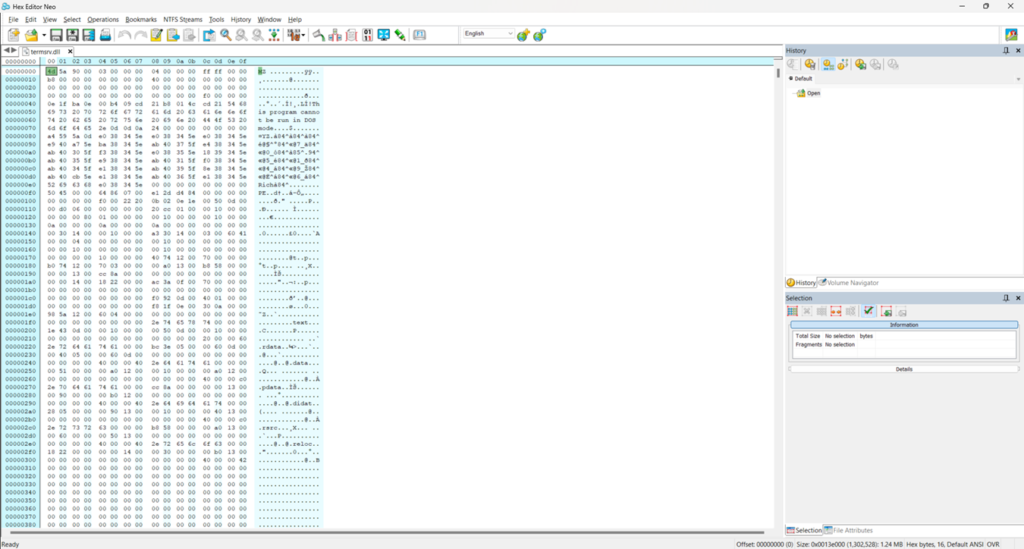
- Now, press Ctrl + S to save the file, and close the HEX editor.
Once done, you should be able to use multiple RDP sessions on Windows 11. If anything goes wrong during the process then you can restore the termsrv.dll file using the copy we created earlier. For this, execute the copy termsrv.dll_backup c:\Windows\System32\termsrv.dll command in Command Prompt.
3. Making Changes to Local Group Policy
This is a straightforward way to enable multiple RDP sessions on Windows 11, unlike the above two methods. However, this step is only possible with Group Policy Editor which is available only on Windows 11 Pro and Enterprise and not on the Home version. If you have Windows 11 Home, then you need to follow the previous methods.
Follow the steps given below to make changes to the local group policy and allow multiple RDP sessions-
- Open the Start Menu using the Windows key on your keyboard. Search for Group Policy Editor and open it by pressing Enter.
- In the Group Policy Editor, navigate to the following path-
- Computer Configuration > Administrative Templates > Windows Components > Remote Desktop Services > Remote Desktop Session Host > Connections.
- Here double-click on the ‘Restrict Remote Desktop Services users to a single Remote Desktop Services session’ policy to edit it. Set it to Disabled.
- Now, double-click on the Limit Number of Connections policy to make changes to it.
- Set the policy to Enabled. Click on the text field under RD Maximum Connections Allowed set it to 999999 and then click on Apply.
Bottom Line
The above steps should allow multiple RDP sessions on Windows 11, and you can now establish multiple remote desktop connections without affecting each other. The first two methods in the above guide work for all the Windows 11 versions, but the last method is restricted to Windows 11 Pro and Windows 11 Enterprise. Ensure you follow the above steps carefully, and before making any changes to your system don’t forget to take a backup.


Leave a Comment
You must be logged in to post a comment.